Inserting Images
Images are an important visual aid in documents, and TexReady provides an easy way to include them in your documents using standard latex syntax. In this section, we will cover the basics of inserting images into LaTeX documents, including file formats, placement options, and customization techniques. With TexReady, you can easily add images to enhance the visual appeal of your documents.
Introduction
This article explains how to use LaTeX to insert and customize images, changing size/position, adding captions, applying effects, and so forth.
In LaTeX, you can insert images using the \includegraphics command from the graphicx package. This command takes several parameters, such as the filename of the image, the width and height and the position of the image.
The basic syntax for inserting images
To insert an image, you first need to make sure the image file is in a format supported by LaTeX, such as JPEG, PNG, EPS or PDF.
If you want to include other file formats, you may need to use a different command or package.
Then, you need to load the graphicx package by adding the following command to your preamble:
\usepackage{graphicx}
Once the package is loaded, you can insert an image using the \includegraphics command:
\includegraphics[<options>]{<filename>}
where:
<options>are optional arguments that can be used to modify the size, orientation, and other properties of the image.<filename>is the name of the image file to be included, with or without the file extension.
Here is a brief explanation of some commonly used options:
width=<width>→ sets the width of the image to<width>, where<width>can be a width value such as 2cm or a fraction of the text width such as0.5\textwidth.height=<height>→ sets the height of the image to<height>value.scale=<scale factor>→ scales the image by a factor of<scale factor>.angle=<angle>→ rotates the image counterclockwise by<angle>degrees.
The basic syntax for inserting images in LaTeX is as follows:
\begin{figure}[placement specifier]
  \centering
  \includegraphics[options]{image_file}
  \caption{Caption of the image}
  \label{fig:label}
\end{figure}
where:
placement specifier→ is an optional argument that specifies where the figure is positioned on the page (e.g., [h] for "here", [t] for "top", [b] for "bottom", etc.)\includegraphics→ is the command that inserts the image file. As mentioned above it requires the graphicx package to be loaded.options→ are optional arguments that specify how the image should be displayed (e.g., width, height, scale, angle, etc.)\caption→ is the caption of the image, which appears below the image. It is used to describe the image and provide context.\label→ is a label that is used to refer to the image in the text (e.g.,\ref{fig:label}). It is typically used in conjunction with\refor\pagerefcommands to create cross-references to the image.
Here is an example using the includegraphics command:
\documentclass{article}
\usepackage{graphicx} % Required for including images

\begin{document}

\begin{figure}
  \centering
  \includegraphics[width=0.5\textwidth]{example-image.png}
  \caption{An example image.}
  \label{fig:example}
\end{figure}

\end{document}
This example generates the following output:
The placement specifier
In LaTeX, the placement specifier is an optional argument that can be used with the figure environment to control where the figure is positioned on the page. The placement specifier is written inside square brackets immediately after the \begin{figure} command.
Here are the most commonly used placement specifiers:
| Placement Specifier | Description |
|---|---|
h | Place the figure "here", i.e., at the current location in the text. This is the most restrictive option, as it only allows LaTeX to place the figure on the same page as the text |
t | Place the figure at the top of a page |
b | Place the figure at the bottom of a page |
p | Place the figure on a page that contains only floats (figures and tables) |
! | Override LaTeX's internal positioning rules |
Multiple placement specifiers can be combined, such as ht to allow LaTeX to place the figure either "here" or at the top of a page.
It is important to note that the placement specifier is only a suggestion to LaTeX, and it may not always be followed. LaTeX has its own set of rules and algorithms for placing figures on the page, and it may override the placement specifier if it cannot find a suitable location.
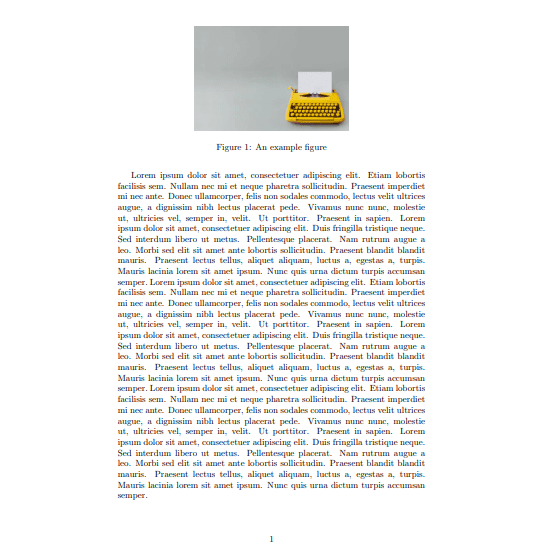
Here's an example of using a placement specifier in order to place the figure at the top of a page:
\documentclass{article}
\usepackage{graphicx} % Required for including images
\usepackage{blindtext} % Required for dummy text
\begin{document}

\blindtext[3]

\begin{figure}[t]
  \centering
  \includegraphics[width=0.5\textwidth]{example-image.png}
  \caption{An example figure}
  \label{fig:example}
\end{figure}

\end{document}
This example generates the following output:
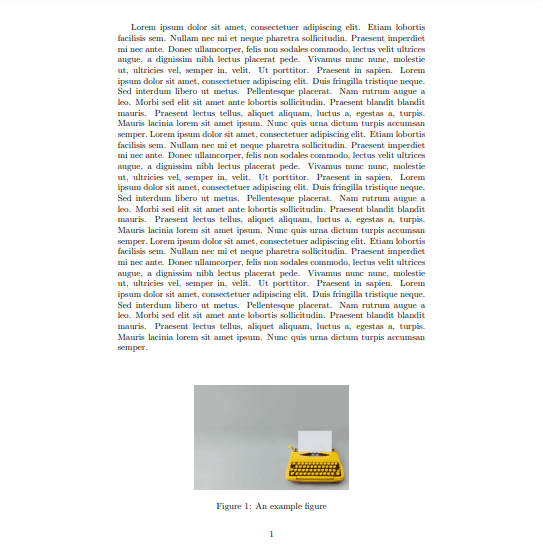
In the next example, the placement specifier b is used to place the figure at the bottom of the page:
\documentclass{article}
\usepackage{graphicx} % Required for including images
\usepackage{blindtext} % Required for dummy text
\begin{document}

\blindtext[3]

\begin{figure}[b]
  \centering
  \includegraphics[width=0.5\textwidth]{example-image.png}
  \caption{An example figure}
  \label{fig:example}
\end{figure}

\end{document}
This example generates the following output:
The \graphicspath command
The \graphicspath command allows the user to specify a directory where all image files will be stored. This command is used in the preamble of a LaTeX document and takes a single argument, which is a comma-separated list of directories. LaTeX will then search for image files in these directories when they are included using the \includegraphics command.
Here is an example of how to use the \graphicspath command:
\documentclass{article}
\usepackage{graphicx}

\graphicspath{{images/}}

\begin{document}

\includegraphics{example-image}

\end{document}
In this example, the \graphicspath command specifies that the directory images/ should be searched for image files. The image file example-image is then included using the \includegraphics command.
Note that the path specified in \graphicspath should be relative to the directory where the LaTeX document is located. If the image files are stored in a subdirectory of the directory where the LaTeX document is located, the path should include the name of the subdirectory, for example:
\graphicspath{{graphics/images/}}
In the above example the image files are located in a directory named images located in a subfolder named graphics of the folder containing the main LaTeX document.
The path specified in the \graphicspath command can also be an absolute path. If the image files are located in an absolute path, for example C:\Users\Username\Documents\images, you can use the following command to add the images folder to the search path:
\graphicspath{{C:/Users/Username/Documents/images/}}
In Windows operating systems, you need to use forward slashes / instead of backslashes \ in the file path.
Changing the image size
To change the image size in LaTeX, you can use the width and height options with the \includegraphics command. Here are some examples:
- To set the width of the image to a specific value while preserving the aspect ratio:
\includegraphics[width=0.5\textwidth]{image.png}
This sets the width of the image to 50% of the width of the text. The height is adjusted automatically to preserve the aspect ratio.
- To set the height of the image to a specific value while preserving the aspect ratio:
\includegraphics[height=5cm]{image.png}
This sets the height of the image to 5 centimeters. The width is adjusted automatically to preserve the aspect ratio.
- To set both the width and height of the image:
\includegraphics[width=5cm,height=3cm]{image.png}
This sets the width of the image to 5 centimeters and the height to 3 centimeters, but note that this will distort the image if the aspect ratio is not preserved.
You can also use other units for specifying the width and height, such as in for inches or mm for millimeters
- Additionally, you can use the scale option to scale the image by a certain factor. For example:
\includegraphics[scale=0.5]{image.png}
This scales the image down to 50% of its original size.
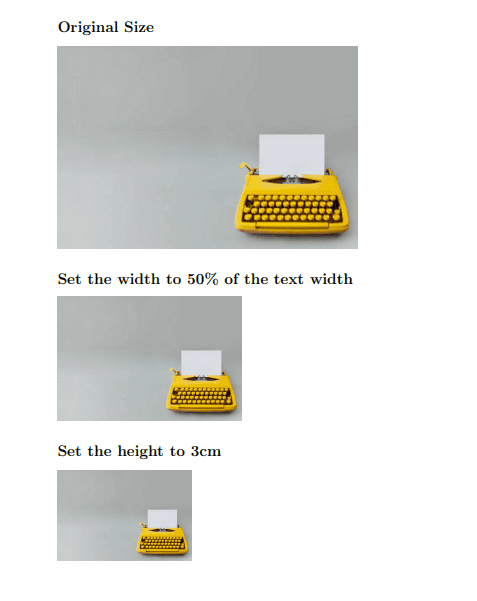
Here are some examples for changing the image size:
- Using the width or height options of
\includegraphicscommand:
\documentclass{article}
\usepackage{graphicx}

\begin{document}

\section*{Original size}
\includegraphics{example-image.png}

\section*{Set the width to 50\% of the text width}
\includegraphics[width=0.5\textwidth]{example-image.png}

\section*{Set the height to 3cm}
\includegraphics[height=3cm]{example-image.png}

\end{document}
This example generates the following output:
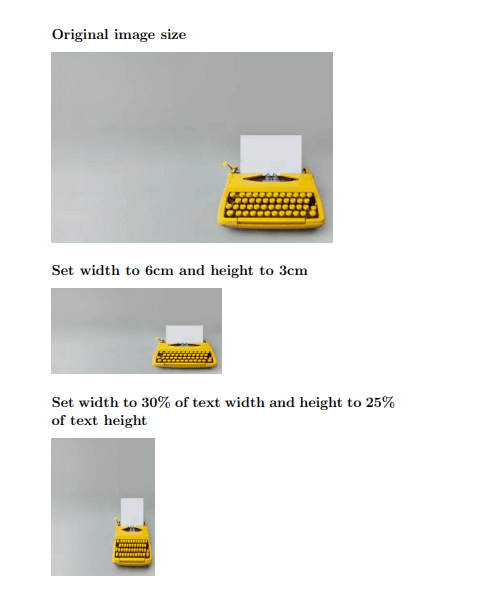
- Using the width and height options of
\includegraphicscommand:
\documentclass{article}
\usepackage{graphicx}

\begin{document}

\section*{Original image size}
\includegraphics{example-image.png}

\section*{Set width to 6cm and height to 3cm }
\includegraphics[width=6cm, height=3cm]{example-image.png}

\section*{Set width to 30\% of text width and height to 25\% of text height}
\includegraphics[width=0.3\textwidth, height=0.25\textheight]{example-image.png}

\end{document}
This example generates the following output:
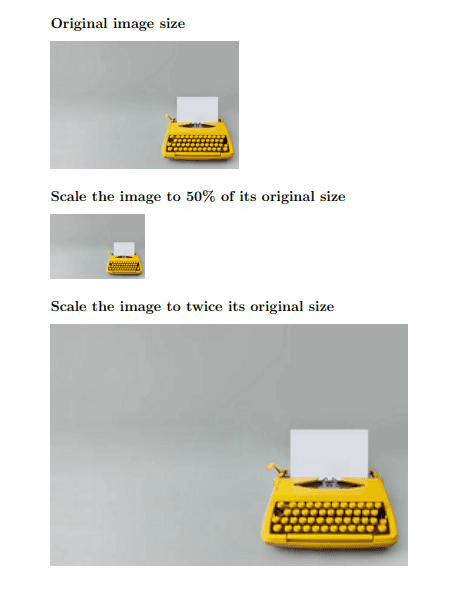
- Using the scale option of
\includegraphicscommand:
\documentclass{article}
\usepackage{graphicx}

\begin{document}

\section*{Original image size}
\includegraphics{example-image.png}

\section*{Scale the image to 50\% of its original size}
\includegraphics[scale=0.5]{example-image.png}

\section*{Scale the image to twice its original size}
\includegraphics[scale=2]{example-image.png}

\end{document}
This example generates the following output:
Rotating the image
Sometimes rotating an image allows you to make it more visually appealing and readable. This can be achieved using the angle option of includegraphics command or using various commands such as rotatebox, sidewaysfigure, and adjustbox; making the image fit better into your document.
Here are a few examples:
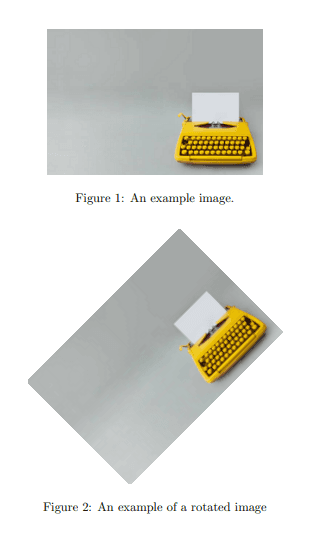
- Using the
graphicxpackage with theangleoption:
\documentclass{article}
\usepackage{graphicx}

\begin{document}

\begin{figure}
  \centering
  \includegraphics[width=0.5\textwidth]{example-image.png}
  \caption{An example image.}
  \label{fig:example}
\end{figure}


\begin{figure}[htbp]
  \centering
  \includegraphics[width=0.5\textwidth, angle=45]{example-image.png}
  \caption{An example of a rotated image}
  \label{fig:rotated-image}
\end{figure}

\end{document}
The angle option is set to 45 degrees, which rotates the image by that amount.
The placement specifier [htbp] determines the preferred locations for the table or figure to be positioned in the document. However, LaTeX may not necessarily place the table or figure at the exact location specified in the text. Instead, it may adjust the placement to avoid creating large empty spaces in the document layout.
This example generates the following output:
- There is another method to rotate the image using the
\rotateboxcommand from thegraphicxpackage. The syntax is as follows:
\rotatebox{<angle>}{<content>}
where:
<angle> → specifies the angle by which the content should be rotated.
<content> → can be any LaTeX content, including images.
For example, to rotate an image by 90 degrees counterclockwise, you can use the following code:
\documentclass{article}
\usepackage{graphicx}

\begin{document}

\begin{figure}
  \centering
  \includegraphics[width=0.5\textwidth]{example-image.png}
  \caption{An example image.}
  \label{fig:example}
\end{figure}


\begin{figure}[htbp]
  \centering
  \rotatebox{90}{\includegraphics[width=0.5\textwidth]{example-image.png}}
  \caption{An example of a rotated image}
  \label{fig:rotated-image}
\end{figure}

\end{document}
This example generates the following output:
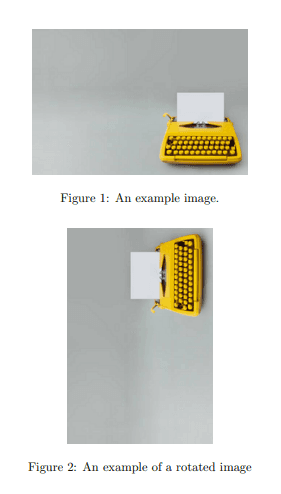
Positive angle values indicating counterclockwise rotation and negative angle values indicating clockwise rotation.
- To rotate an image using the adjustbox package with the rotate option, you can use the following syntax:
\documentclass{article}
\usepackage{adjustbox}

\begin{document}

\begin{figure}
  \centering
  \adjustbox{rotate=180}{\includegraphics{example-image.png}}
  \caption{An example of a rotated image}
  \label{fig:rotated_image}
\end{figure}

\end{document}
This example generates the following output:
Note that the adjustbox package also provides other options for scaling, resizing, and manipulating the position of the image.