Document Sectioning
Welcome to the world of document sectioning. Here, you'll uncover the power of structuring your Latex document. Learn to establish hierarchy, improve navigation, and expertly present your content.
Introduction
Structuring content is the art of organizing information in a logical and coherent manner. Here are some key advantages of using a structured document:
- Readability → Clear hierarchies created by sections, subsections, and chapters enhance readability, helping readers grasp content more easily.
- Navigation → Structured documents provide efficient navigation through table of contents and cross-references, aiding quick access to specific information.
- Modularity → Well-defined sections allow collaborative writing, enabling contributors to work on specific areas without disrupting the entire document.
- Precision → Structured content allows for emphasis on main ideas, ensuring key points are highlighted and easily located.
In this section, we'll helping you create documents that are not only informative but also well-organized and visually appealing.
Hierarchical structure of a LaTeX document
In LaTeX, there are seven levels of depth for defining sections. These levels allow you to present your content in a clear and organized manner. Here's an overview of the seven levels of depth:
| Command | Level | Comment |
|---|---|---|
\part{part title} | -1 | books and reports, not in letters |
\chapter{chapter title} | 0 | only in books and reports |
\section{section title} | 1 | not in letters |
\subsection{subsection title} | 2 | not in letters |
\subsubsection{subsubsection title} | 3 | not in letters |
\paragraph{paragraph title} | 4 | not in letters |
\subparagraph{subparagraph title} | 5 | not in letters |
Major divisions: parts and chapters
In LaTeX, you can create well-defined divisions within your document using parts and chapters. These major structural elements are especially useful for longer documents like books, reports, or theses.
Parts: creating thematic sections
A part is a higher-level division that allows you to group related chapters under a common theme. It's particularly helpful when your document covers distinct topics or phases. To use parts, simply employ the \part command followed by the title of the part, for example:
\part{Introduction}
Chapters: focused content sections
Chapters provide a focused and detailed organization of your content within each part. They are used to break down the document further into specific topics or subjects. To create a chapter, use the \chapter command followed by the title of the chapter, for example:
\chapter{Background}
Utilizing Parts and Chapters
By incorporating parts and chapters into your document structure, you create a hierarchy that guides readers through your content, enhances readability, and enables efficient navigation. In summary:
| Command | Description |
|---|---|
\part{title} |
|
\chapter{title} |
|
Main content: sections, subsection, and subsubsection
In LaTeX, creating a well-structured document involves organizing your content into meaningful divisions. The main building blocks for this are the following commands:
| Sectioning Command | Description |
|---|---|
\section{title} |
|
\subsection{title} |
|
\subsubsection{title} |
|
Replace {title} with the specific title or heading you want for that section, subsection, or subsubsection.
Here's an example of how these commands can be used:
\documentclass{article}
\begin{document}
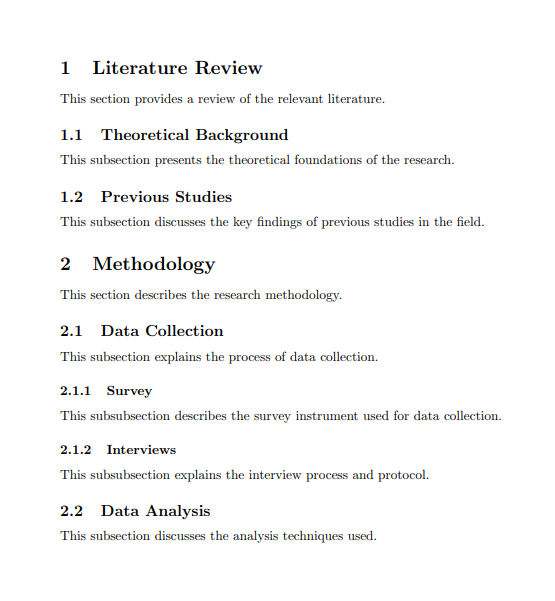
\section{Literature Review}
This section provides a review of the relevant literature.
\subsection{Theoretical Background}
This subsection presents the theoretical foundations of the research.
\subsection{Previous Studies}
This subsection discusses the key findings of previous studies in the field.
\section{Methodology}
This section describes the research methodology.
\subsection{Data Collection}
This subsection explains the process of data collection.
\subsubsection{Survey}
This subsubsection describes the survey instrument used for data collection.
\subsubsection{Interviews}
This subsubsection explains the interview process and protocol.
\subsection{Data Analysis}
This subsection discusses the analysis techniques used.
\end{document}
This example generates the following output:
Fine-Tuning structure: paragraphs and subparagraphs
In LaTeX, you have the flexibility to fine-tune the structure of your document with even more granularity using \paragraph and \subparagraph commands. These commands are particularly useful when you need to provide detailed explanations, subpoints, or additional context within your content.
| Command | Description |
|---|---|
\paragraph{title} |
|
\subparagraph{title} |
|
Here's an example of how to use these commands:
\documentclass{article}
\begin{document}
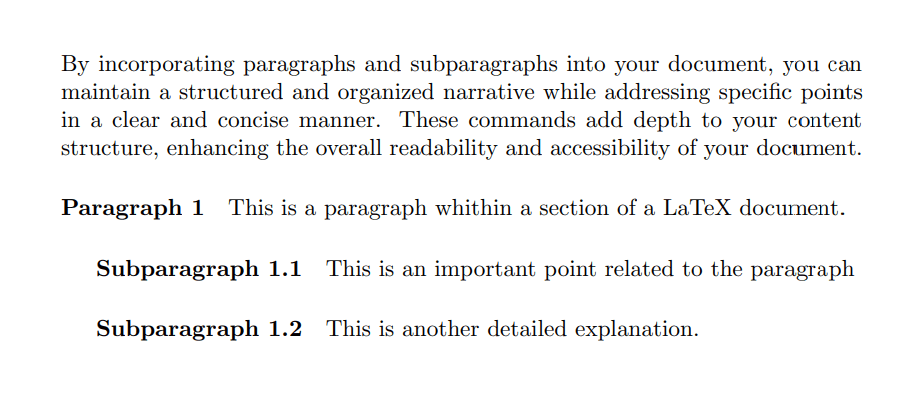
\noindent By incorporating paragraphs and subparagraphs into your document, you can maintain a structured and organized narrative while addressing specific points in a clear and concise manner. These commands add depth to your content structure, enhancing the overall readability and accessibility of your document.
\paragraph{Paragraph 1}
This is a paragraph whithin a section of a LaTeX document.
\subparagraph{Subparagraph 1.1}
This is an important point related to the paragraph
\subparagraph{Subparagraph 1.2}
This is another detailed explanation.
\end{document}
This example generates the following output:
Unnumbered Sections and Subsections
If you do not want the section to be numbered use an asterisk * symbol. Here's how to do it:
\section*{Title}
\subsection*{Title}
\subsubsection*{Title}
For example:
\documentclass{article}
\begin{document}
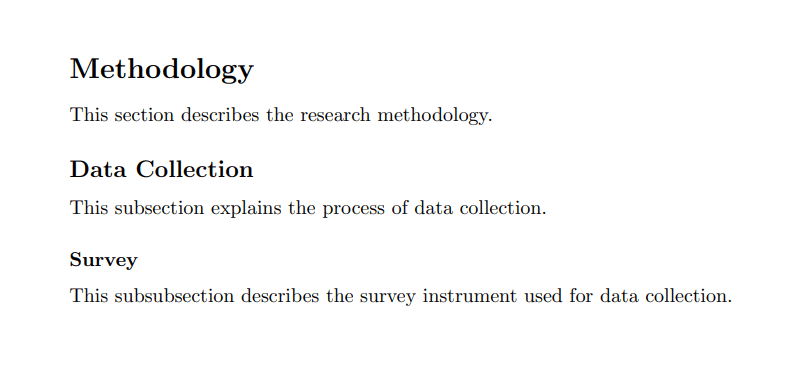
\section*{Methodology}
This section describes the research methodology.
\subsection*{Data Collection}
This subsection explains the process of data collection.
\subsubsection*{Survey}
This subsubsection describes the survey instrument used for data collection.
\end{document}
This example generates the following output:
Unnumbered sections and subsections do not appear in the table of contents by default. If you want them to appear in the table of contents, you need to manually add them using the \addcontentsline command.
The \addcontentsline command
This command is used to manually add an entry to a table of contents, list of figures, list of tables, or any other "list of" section. Its basic syntax is as follows:
\addcontentsline{file}{section-type}{entry}
Where:
-
file: Specifies the file for which you're adding the entry. Common values are:toc→ for the table of contentslof→ for the list of figureslot→ for the list of tables- You can also use custom files if you have defined additional lists.
-
section-type: Specifies the type of section to which the entry belongs, such as:- section
- subsection
- figure for figures in the list of figures
- table for tables in the list of tables
-
entry: The content that you want to add to the corresponding list. This can include the title of the section, figure, table, etc.
Here's an example of how you might use \addcontentsline to manually add an unnumbered section or subsection to the table of contents:
Here's an example:
\documentclass{article}
\begin{document}
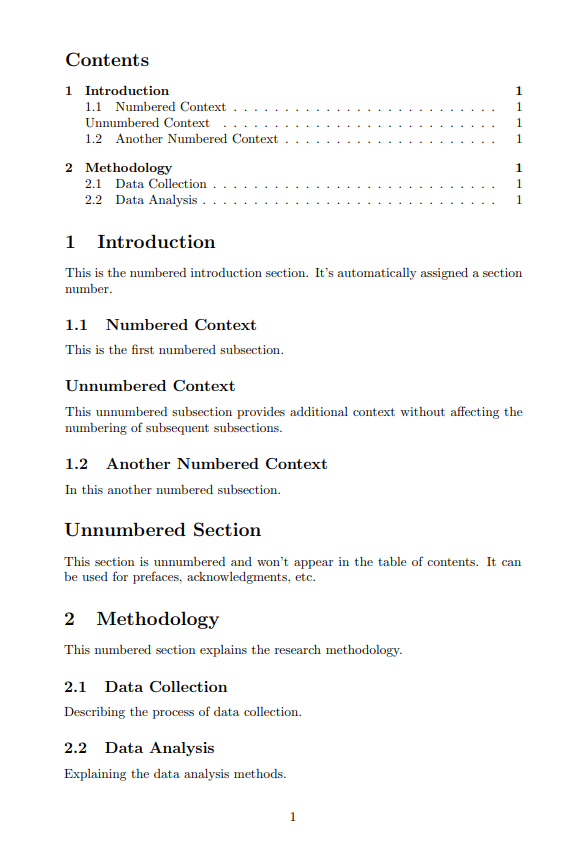
\tableofcontents % Generates the table of contents
\section{Introduction} % Numbered Section
This is the numbered introduction section. It's automatically assigned a section number.
\subsection{Numbered Context} % Numbered Subsection
This is the first numbered subsection.
\subsection*{Unnumbered Context} % Unnumbered Subsection
This unnumbered subsection provides additional context without affecting the numbering of subsequent subsections.
\addcontentsline{toc}{subsection}{Unnumbered Context} % Manually add to table of contents
\subsection{Another Numbered Context} % Numbered Subsection
In this another numbered subsection.
\section*{Unnumbered Section} % Unnumbered Section
This section is unnumbered and won't appear in the table of contents. It can be used for prefaces, acknowledgments, etc.
\section{Methodology} % Numbered Section
This numbered section explains the research methodology.
\subsection{Data Collection} % Numbered Subsection
Describing the process of data collection.
\subsection{Data Analysis} % Numbered Subsection
Explaining the data analysis methods.
\end{document}
This example generates the following output:
Cross-referencing sections
Cross-referencing sections in LaTeX is a valuable feature that allows you to create references or links to specific sections, subsections, or other structural elements within your document. This is particularly useful when you want to refer readers to other parts of your document, for example when mentioning "See Section 2.3 for more details."
Here's how cross-referencing sections works in LaTeX:
-
Labeling sections
To create a reference point, you first need to label the section, subsection, or any other structural element you want to refer to. Use the\labelcommand immediately after the sectioning command. For example:\section{Introduction}\label{sec:intro}In this case, we've labeled the "Introduction" section as "sec:intro."
-
Referencing sections
To create a reference to a labeled section, use the\refcommand followed by the label you assigned earlier. For example:See section \ref{sec:intro} for an introduction.LaTeX will automatically replace
\ref{sec:intro}with the corresponding section number when you compile your document.\documentclass{article} \begin{document} \section{Introduction}\label{sec:intro} In section \ref{sec:intro}, we will discuss the importance of cross-referencing. \end{document}The "Introduction" section is numbered as "1" in the document, so it will appear as "In section 1":

-
Automatic updating
LaTeX takes care of updating section numbers and references as you add or remove sections or subsections. When you compile your document, the references are updated automatically. -
Hyperlinks (Optional)
If you want to create clickable hyperlinks for your references in a PDF document, you can use thehyperrefpackage. Simply add the following line in the preamble of your LaTeX document:\usepackage{hyperref}Now the references will become clickable in the PDF output.
Cross-referencing sections ensures that your document remains coherent, and readers can easily navigate through the content, particularly in longer documents like research papers, reports, or theses.
Formatting section titles using titlesec package
The titlesec package in LaTeX provides a variety of commands for customizing the formatting of section and subsection titles.
To get started, add the titlesec package to your LaTeX document's preamble:
\usepackage{titlesec}
Now, you gain access to commands that provide a straightforward way to format sectioning commands, enabling you to customize their font styles, sizes, colors, spacings, and even add supplementary content before or after the titles.
Some of the most commonly used commands are:
| titlesec Command | Description |
|---|---|
\titleformat | The main command used to customize sectioning titles. |
\titlespacing | Controls the spacing around section or subsection titles. |
\titlelabel | Allows you to customize the format of labels (e.g., section numbers) in titles. |
The \titleformat command
The main command used to customize sectioning titles is the \titleformat command:
\titleformat{command}[shape]{format}{label}{sep}{before-code}[after-code]
Here's a breakdown of each element in the syntax:
-
{command}: Specifies the sectioning command you want to customize, such as\section,\subsection,\subsubsection, etc. For example:\titleformat{\section} -
[shape]: (Optional) Specifies the shape of the title. Common options include:block→ This is the default shape, and it typically results in a standard rectangular block for the title.frame→ This shape places a frame or border around the title, creating a boxed effect.hang→ The hang shape indents the title text, making it appear as if it's hanging below the section number or label.display→ The display shape typically centers the title text within a defined space.
Here's an example of using
frameas the shape option:\titleformat{\section}[frame]This shape places a frame or border around the title, creating a boxed effect:

-
{format}: Defines the formatting of the title text. You can specify font size, style, color, alignment, and more in this part, for example:{\normalfont\Large\bfseries\color{blue}} -
{label}: Specifies how the label of a section or subsection should appear and determines what appears before the title, such as the section or subsection number. You can use LaTeX's built-in counters, such as:Built-in counter command Represents \thesectionSection number \thesubsectionSubsection number \thesubsubsectionSubsubsection number \thechapterChapter number The period (.) can be used within curly braces to include a period after the section number in the section title label.
For example
{\thesection.}label uses the section number and includes a period (.) after the section number:
-
{sep}: Specifies the horizontal spacing between the label (e.g., section number) and the title text. You can use values like 1em, 2ex, or other units to control the spacing.In the following image example, there are two section titles, each customized with different sep values
{1em}and{2em}:
-
{before-code}: (Optional) Contains any additional formatting or code that should be inserted before the title text of a section heading. For example you can insert an image before the section title by using the following {before-code}:{\raisebox{-0.2\height}{\includegraphics[width=1.3em]{intro-icon.jpg}}\hspace{0.5em}}This generates the following section title:

-
[after-code]: (Optional) Contains any additional formatting commands or content to be inserted after the title text. For example you can add a yellow horizontal rule (line) immediately after the section title:[\color{yellow}\rule{\linewidth}{1.5pt}]This will generates the following output:

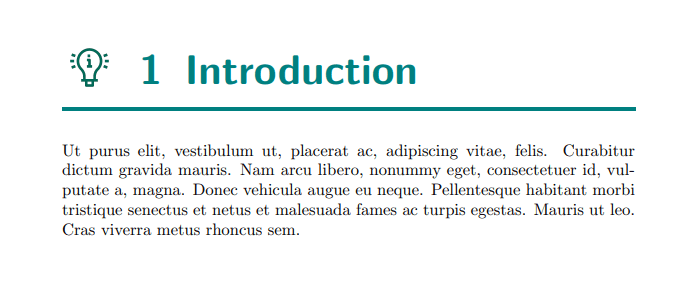
Here's an example of using \titleformat command:
\documentclass{article}
\usepackage{titlesec}
\usepackage{xcolor}
\usepackage{graphicx}
\usepackage{lipsum}

% Define custom section title format
\titleformat{\section}[block] % {command}[shape]
  {\sffamily\Huge\bfseries\color{teal}} % {format}
  {\raisebox{-0.2\height}{\includegraphics[height=1.2em]{intro-icon.jpg}}\hspace{0.5em}\thesection} % {label}
  {0.5em} % {sep}
  {} % No {before-code}
  [\vspace{-0.5em}\color{teal}\rule{\linewidth}{2pt}] % {after-code}

\begin{document}

\section{Introduction}
\lipsum[1][2-8]

\end{document}
Including the empty braces {} is a way of being explicit about your intention not to have any {before-code} while still adhering to the LaTeX syntax.
This example generates the following output:
The \titlespacing command
The \titlespacing command allows you to adjust the spacing around section titles. This command is useful for fine-tuning the vertical and horizontal spacing above and below section titles.
Here's the basic syntax of the \titlespacing command:
\titlespacing{command}{left}{before-sep}{after-sep}[right-sep]
Where:
{command}→ Specifies the sectioning command you want to adjust (e.g., \section, \subsection, \subsubsection).{left}→ The amount of horizontal space to be added to the left of the title.{before-sep}→ The vertical space before the title.{after-sep}→ The vertical space after the title.[right-sep]→ (optional) The amount of horizontal space to be added to the right of the title.
The hang, block and display shapes have the possibility of increasing the [right-sep] margin with this optional argument.
Here's an example of using \titlespacing command:
\titlespacing{\section}{0pt}{12pt}{6pt}
In this example:
{command}→ is\section.{left}→ is0pt, which means no additional left spacing.{before-sep}→ is12pt, indicating 12 points of vertical space before the section title.{after-sep}→ is6pt, indicating 6 points of vertical space after the section title.
Here's another example of \titlespacing command which customizes the spacing for the \section command using flexible specification for vertical space.
\titlespacing{\section}{0pt}{2ex plus 1ex minus 0.2ex}{1ex plus 0.2ex}
In LaTeX, {2ex plus 1ex minus 0.2ex} is a flexible specification used for vertical space. It defines how much vertical space should be added or removed around a particular element. Let's break down what each part of this specification means:
-
2ex: This represents the amount of vertical space added. In LaTeX,exis a unit of measurement that's typically based on the height of the lowercase letter "x" in the current font. So2exmeans adding twice the height of the letter "x" as vertical space. -
plus 1ex: This part indicates that LaTeX can stretch the vertical space by up to1exif needed. If there's extra space on the page and LaTeX wants to maintain a pleasing layout, it can stretch this space up to an additional 1ex. -
minus 0.2ex: This part specifies that LaTeX can shrink the vertical space by up to0.2exif necessary. If there's not enough space on the page to accommodate the specified vertical space, LaTeX can reduce it by up to 0.2ex.
In summary, {2ex plus 1ex minus 0.2ex} starts with a base height of 2ex, can be stretched to 3ex, and can be shrunk to 1.8ex. This flexibility allows LaTeX to adjust vertical spacing dynamically to achieve the best page layout.
The \titlelabel command
The \titlelabel command allows you to customize how section numbers and labels are displayed in the titles of sections, subsections, subsubsections, and other structural elements.
The basic syntax of the \titlelabel command is as follows:
\titlelabel{formatting commands}
{formatting commands} → You can use various LaTeX formatting commands and macros to modify the appearance of the labels, such as changing the font, size, style, adding symbols or punctuation, and more.
Here's a simple example of how to use \titlelabel command:
\documentclass{article}
\usepackage{titlesec}
\usepackage{xcolor}

% Customize section labels
\titlelabel{\Large\bfseries\color{teal} Section \thesection:\quad}

\begin{document}

\section{Introduction}
This is the introductory section.

\section{Methodology}
This section explains the research methodology.

\end{document}
This example generates the following output:
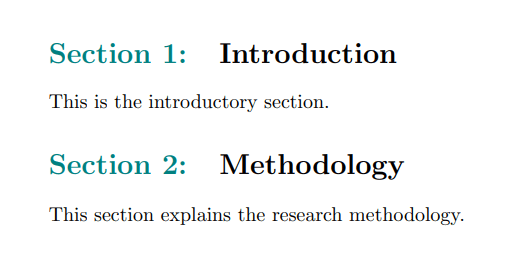
In this example, the \titlelabel command modifies the appearance of section labels so that they are larger, bold, displayed in teal color, and prefixed with "Section X:" where "X" is the section number. The \thesection command is used to display the section number followed by a space (\quad).
In conclusion, the titlesec package empowers you to finely tailor the appearance and spacing of section titles in your LaTeX documents, enhancing both aesthetics and readability.